HiGOLE Gole1 Plus - unboxing and teardown

-
64GB
ROM
-
4GB
RAM
-
GPU
-
4
CPU
Higole Gole1 Plus
-
OS
-
Wi-Fi
-
LAN
100M -
CHIPSET
Intel Atom Z8350
Update - read the full review here.
Portable mini PC's of all shapes and sizes (literally) are very popular right now - if you are a returning visitor here you might have read about the 7'' mini-laptops that raised millions on crowdfunding websites, or the previous 2-in one devices (tablet and mini pc) that were launched last year.
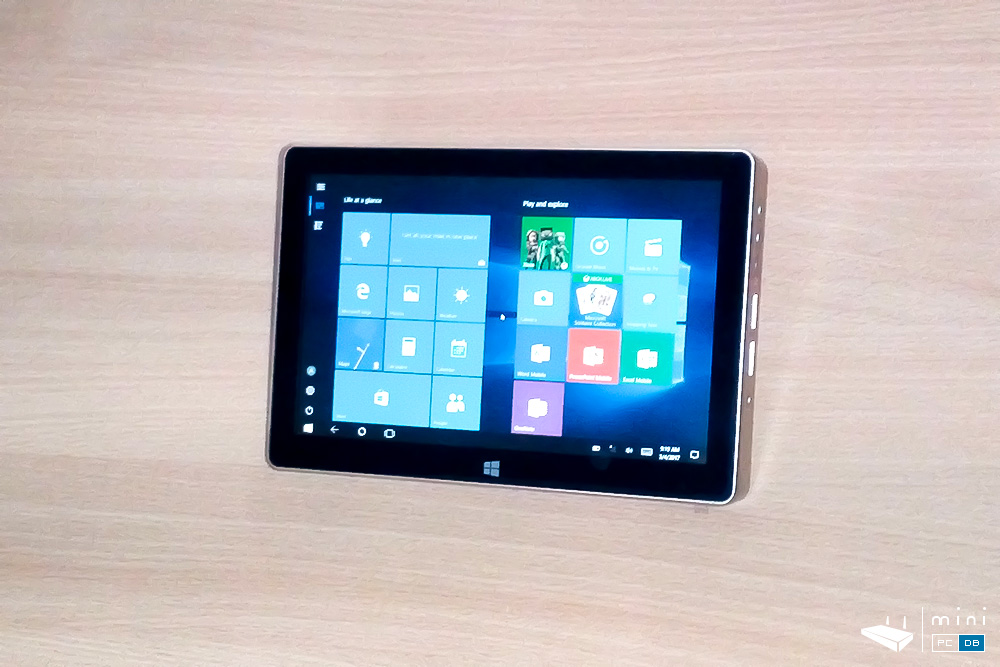
Gole launched their first device (Gole1) via IndieGogo last year and we found the little guy to be cool to have around, albeit it's 5'' screen is not very useful when booting Windows 10, Android is much easier to use on small screens.
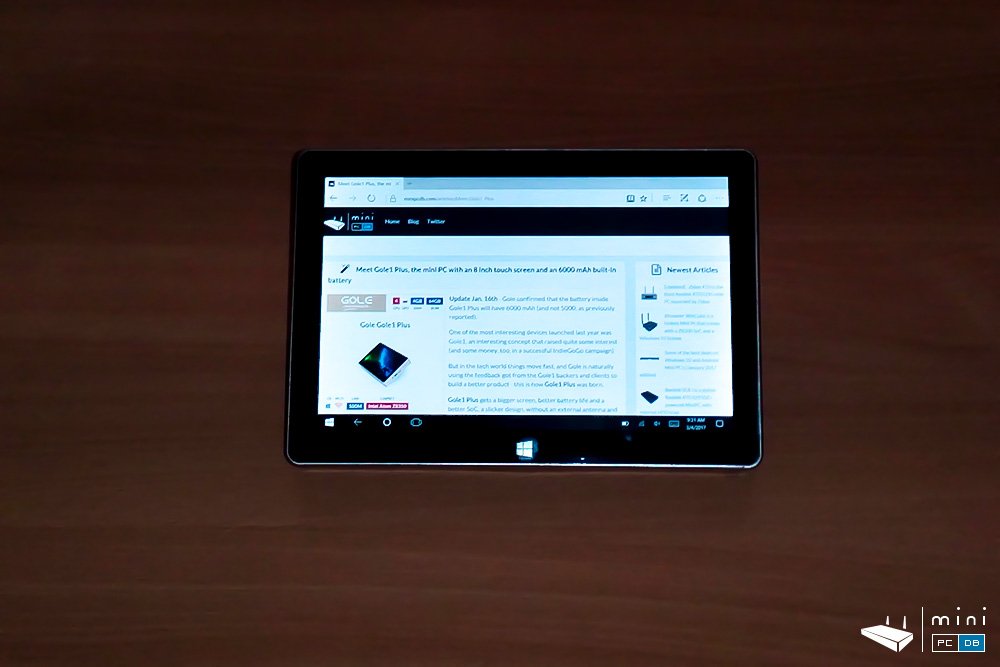
And Gole got this feedback a lot it seems, so they launched a new and improved model that comes to a much more usable screen - the Gole1 Plus.
Thanks to the friendly people at Gole we get a chance to test this new device, and we start today with the unboxing.
Let's talk a bit first about the device in general - the idea of starting a project at home, putting the device in standby and then continue to work on it while you commute to work or when you get there is not new.
Most people will say that the perfect device for this is still a tablet, maybe a high-end one with Windows. But that's in a different price-range, and you'll most likely still lack the USB 3.0 or Ethernet ports.
There are also plenty of TV boxes or Mini PC's that we usually cover here on MiniPCDB.com, but you won't have the battery or the screen.
What I'm trying to say here is that these devices have their own niche, and while being bulkier than most tablets, they do have several advantages over them.
When you're bored with them you can always repurpose them and they will have other uses (something that you don't get with "normal" MinipC's).
For instance, I've been using my first generation Gole device as a dedicated screen for a smarthome app - it's very convenient and easy to install, and the device worked 24/7 for weeks without signs of trouble.
Someone said in a comment for the previous Gole1 device that it's a device looking for an use-case scenario - but I prefer to look at Gole1 and Gole1 Plus like at an attempt to revive the long-lost UMPC niche - now we have better screens, better SoC's, millions of apps and use-case (like the home automation one) that never existed back when UMPC's were launched.
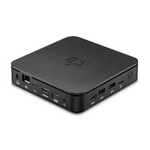
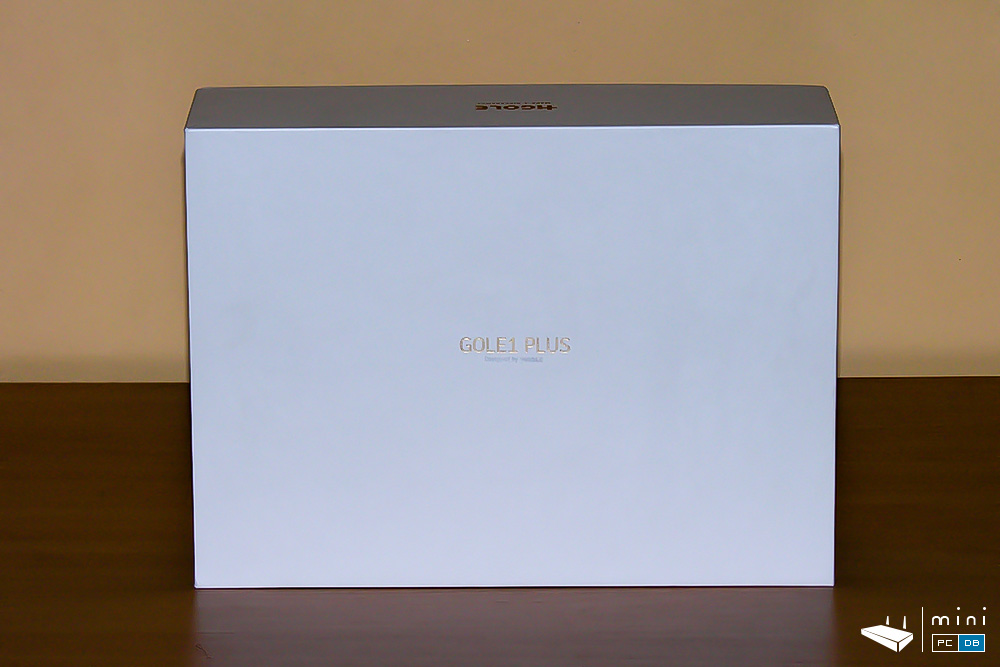
Enough with the introduction, let's take a look at the device: Gole1 Plus comes in the same simple and aesthetically pleasing white box that has only the brand name and the product name written on it (with gold letters).
And we must stop here for a bit - the brand name seem to have changed to HiGole, and the slogan from "Enjoy work, enjoy life" to "Make a difference".

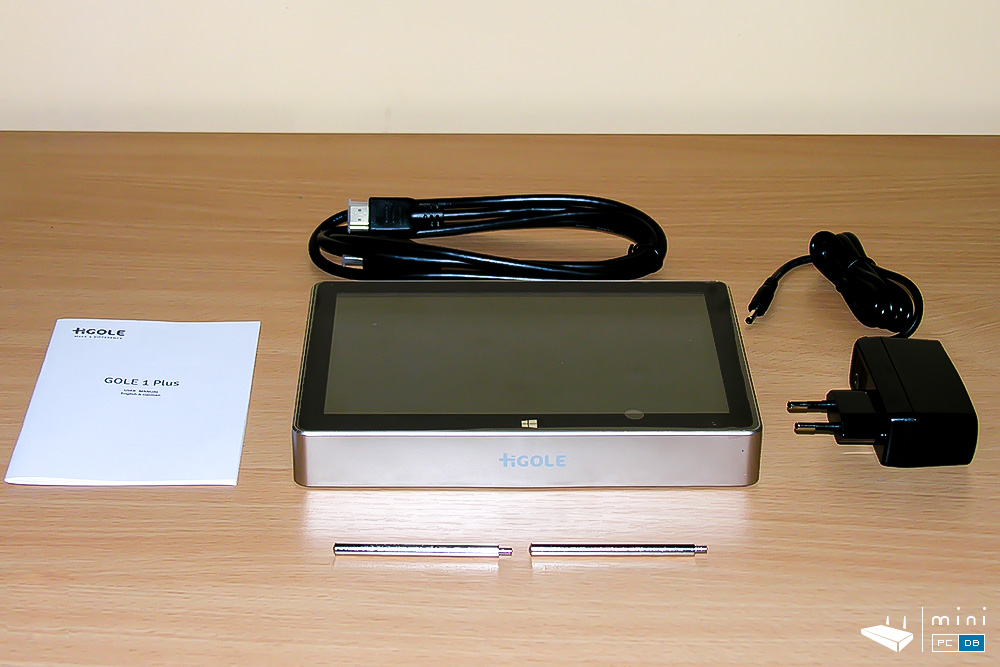
What's in the box
Inside the box we can find the device, an user manual (English and German, a hint that this device might sell well in Germany!), power adapter and HDMI cable and the two poles used to make the device stand on a table.
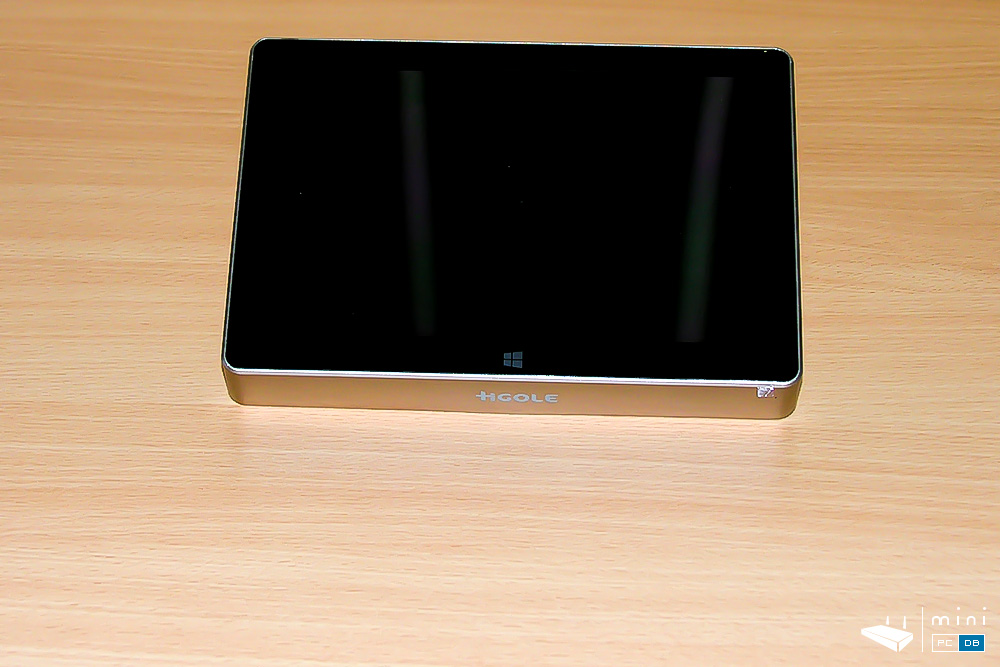
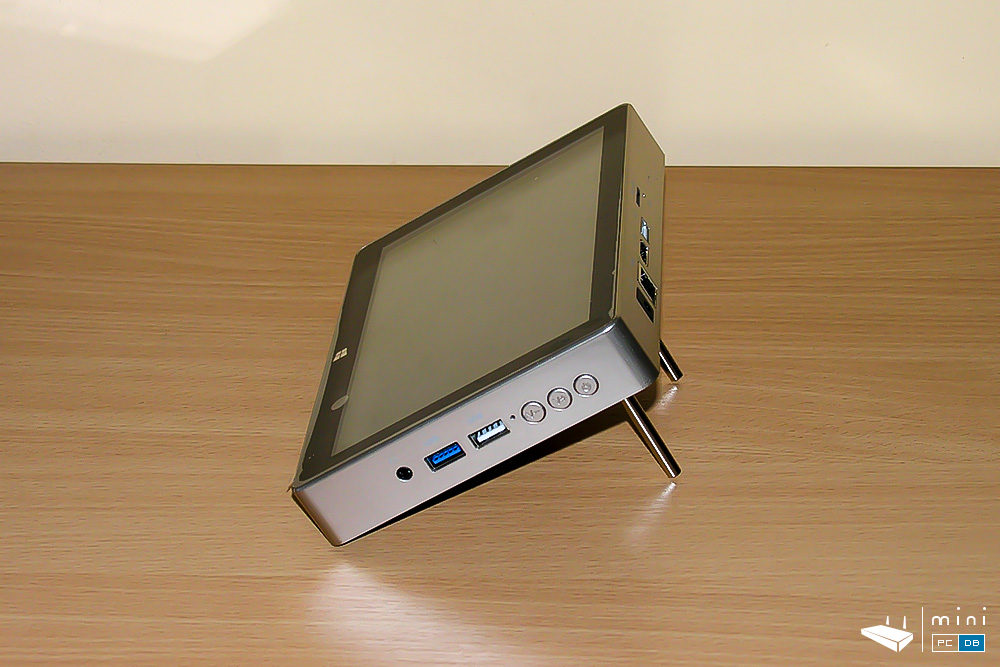
HiGOLE Gole1 Plus first impression
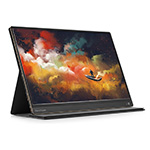
The device does well on a first impression - I already knew what to expect from the promotional pictures that Gole1 Plus is less plasticky than the original Gole1, but on a quick overview the device looks sturdy, maybe a bit heavier than I expected,
The screen takes most of it's top side, the buttons are now all-metal and the ports are more conveniently placed (the engineers at Gole had more space at their disposal).
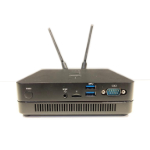
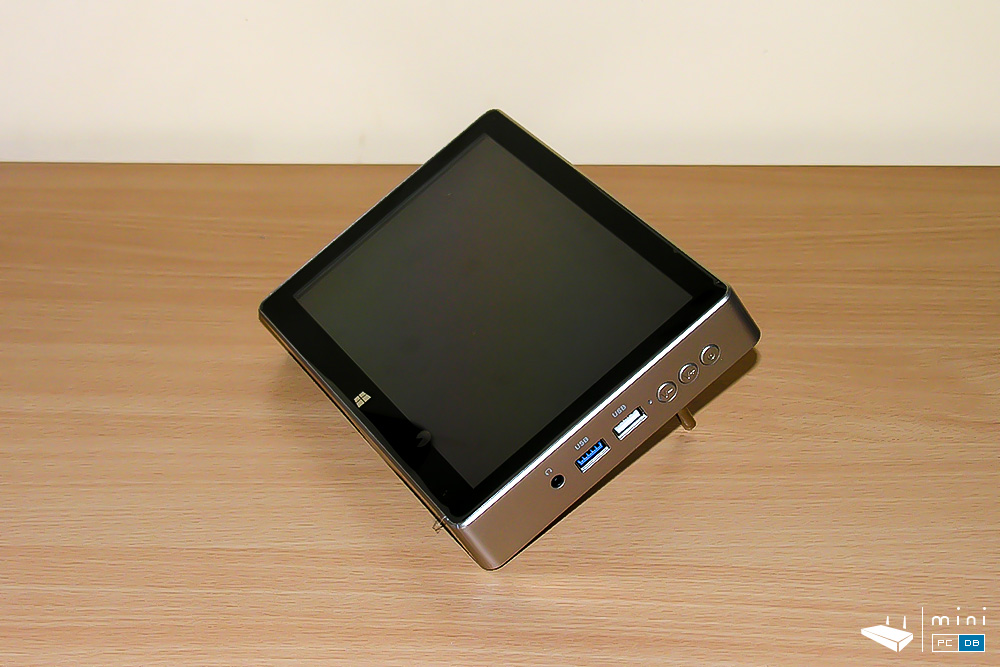
HiGOLE Gole1 Plus ports
The left side has only a ventilation hole (nicely designed, even so).
On the right side we have the headphones port, USB 3.0 and 2.0 (one each), a tiny red led (power indicator) and the three metallic buttons (volume down and up and the power button). You need to press the button a couple of seconds to boot, so don't panic if it does not boot on a quick press.
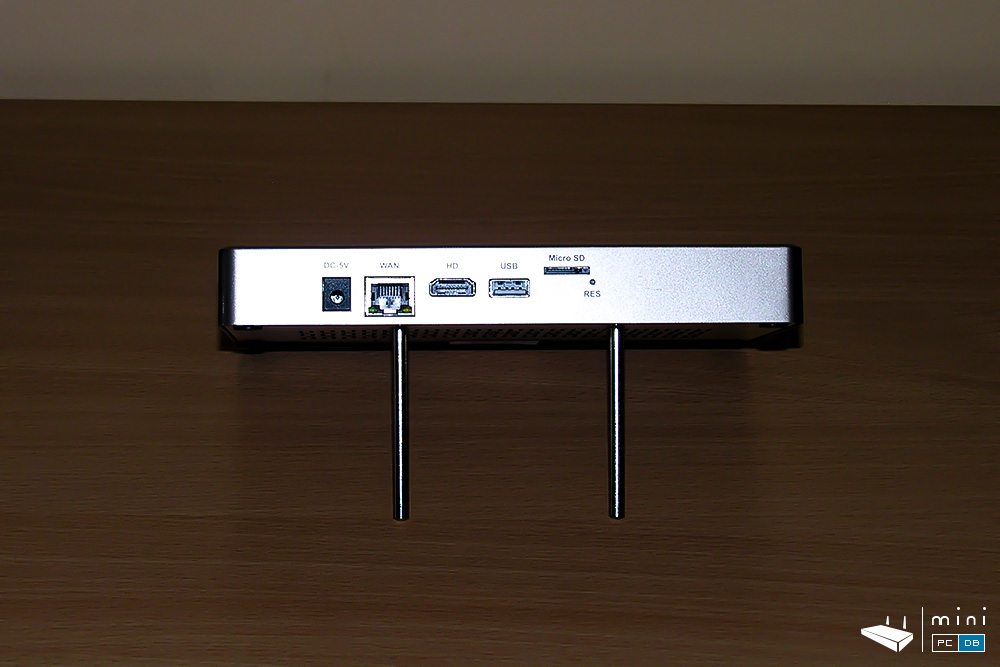
The back has, in order: the DC-in (5V), Ethernet port (marked as "WAN" for some reason), the HDMI out port (marked as just "HD"), another USB port, the micro SD port and a reset pinhole.
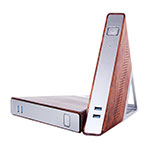
The back has 4 holes for the poles to place in - you can set the device on the table on 4 different ways (5 if you don't add the poles at all).There are also the ventilation holes.
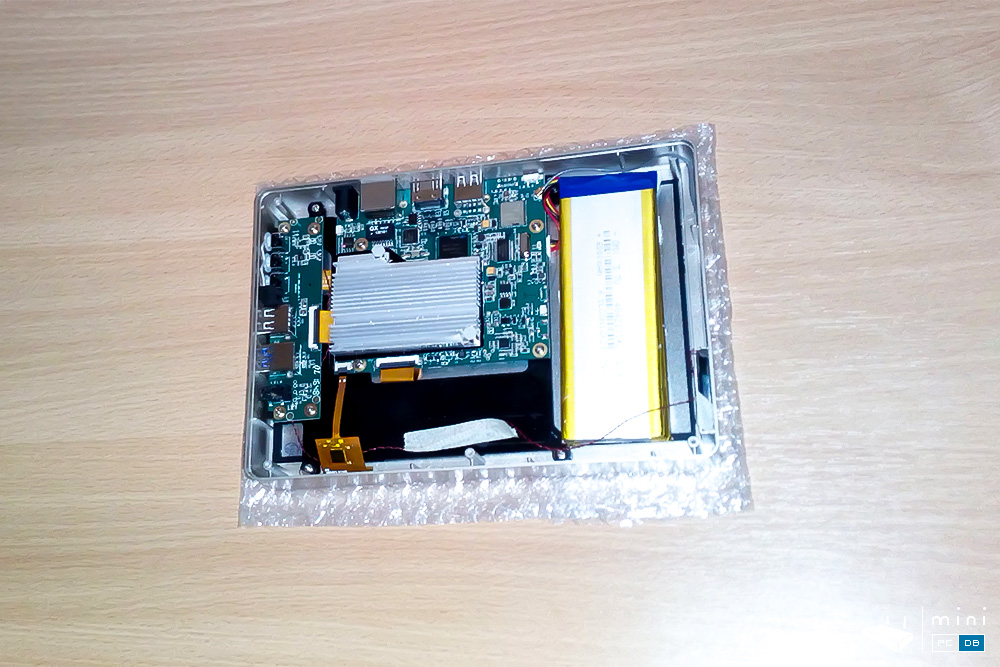
HiGOLE Gole1 Plus teardown
Let's take a sneak peak under the hood.
To access the PcB you need to remove the four screws carefully hidden below the rubber pads - but there's a fifth one hidden below the HiGOLE sticker as well.
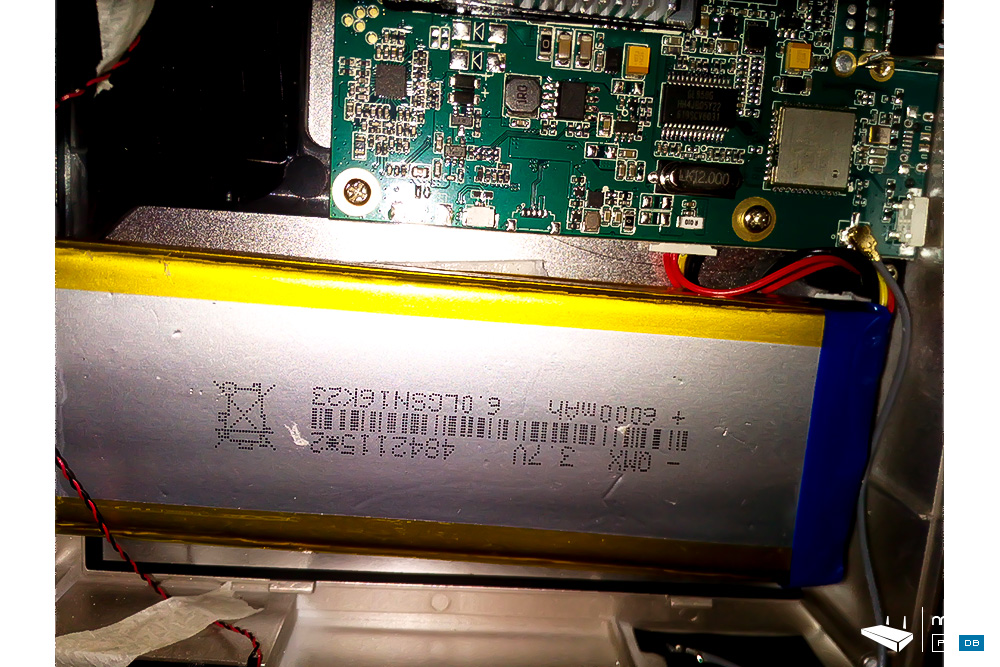
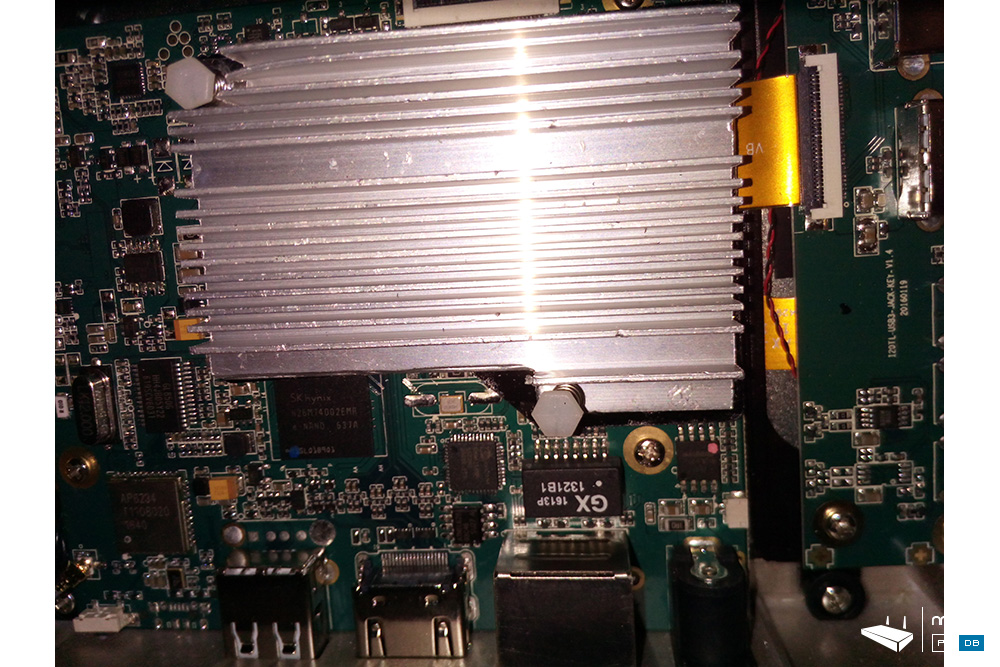
After removing the cover we can see that the cover itself has a dust filter applied and we finally get to see the mainboard.
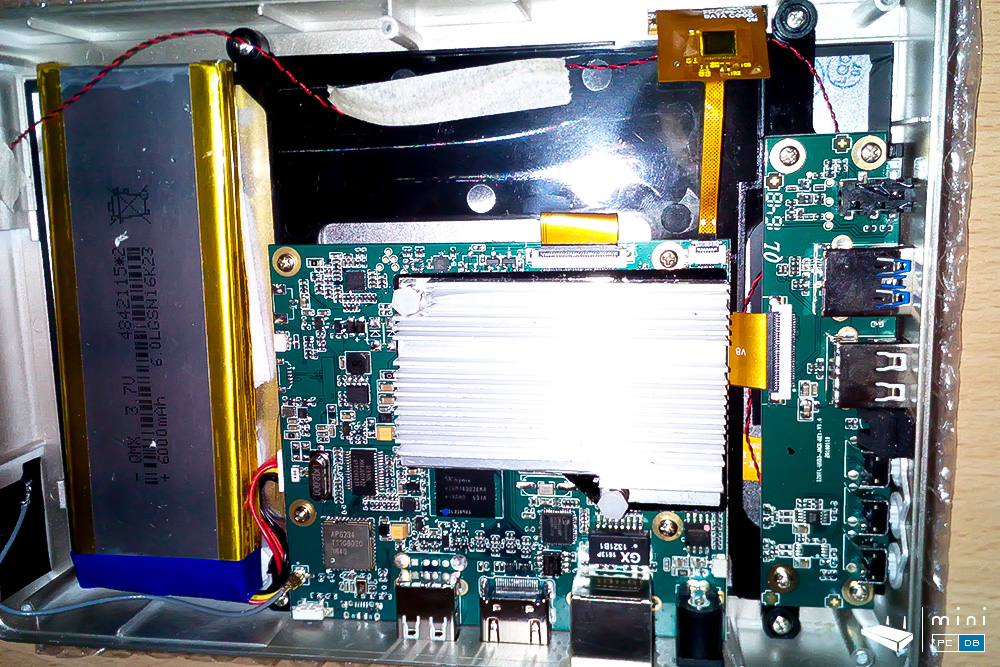
You'll recognize right away the 6000 mAh battery, the AP6234 module that provides the wireless connectivity (dual band WiFi 802.11b/g/n and BT 4.0) and a decent-sized heatsink over the CPU.

Where to buy HiGOLE Gole1 Plus
Gole1 Plus is currently on presale on Gearbest, on two versions : 4GB of RAM and 64GB ROM for $219.99 and 4GB of RAM and 128GB ROM for $20 more.
We'll update this post when a coupon code will be available.
Done with unboxing - I'll play with device for a few days and come back with a full review.
Related articles
Meet Gole1 Plus, the mini PC with an 8 inch touch screen and an 6000 mAh built-in battery
Part two of our HiGOLE Gole1 Plus review - the UMPC comeback